
How to Make A Pretty Dang Good Thanksgiving Dinner
In Canada we celebrate Thanksgiving much earlier than our American friends. Mostly because the holiday originated as a celebration of a bountiful harvest, and trying to harvest anything in Canada after the second Monday of October is going to result in some dead as hell crops.

These days, the celebration is mostly an excuse to stuff yourself silly and spend time with family members that you only see a few times a year.
We decided to tackle a somewhat traditional Thanksgiving meal because:
Most people are cooking their turkey wrong, resulting in awkward family dinners where no one wants to take home the dry, leftover turkey
We want people to buy less shitty canned cranberry and boxed stuffing, because it sucks
We wanted an excuse to cook a feast for ourselves
So, welcome to a very Mediocre Chef Thanksgiving! No boxed, canned, or pre-cooked dishes allowed.
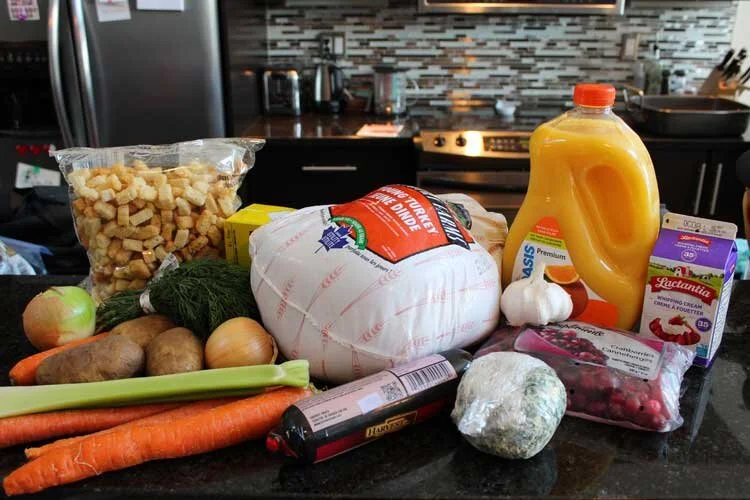
What you’ll need to make a delicious Thanksgiving dinner.
Turkey vs Rotisserie Chicken
Oh boy, the turkey. The pièce de résistance. If you mess up turkey, that’s all anyone will remember. (No pressure or anything.) But don’t worry, we’re here to show you that there are a few things you can do to guarantee your turkey comes out moist and perfect.
The first thing that you can do is get yourself a turkey bag!

Make the perfect turkey every time with these.
The idea is that as the bird cooks, the steam that is released will mostly stayed trapped, creating a nice steamy environment for the turkey to hang out it (it’s like the weirdest spa imaginable). That combined with the fact that the bag will keep the juices trapped should result in a super moist and perfectly cooked turkey.
The second thing that you can do is to coat every inch of the turkey with a delicious herb butter mixture. This is basically the exact same thing that we did in our roast chicken post. So if you’re unsure what to do or how to make the herb butter, go read that post and come right back.
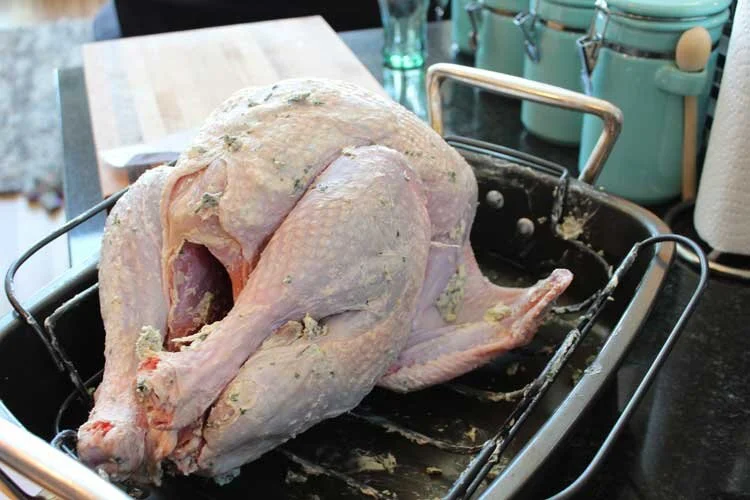
A buttered bird not yet bagged.
Okay, so you’ve coated the turkey, and it’s sitting in the turkey bag. Look at the directions on the back of your turkey bag packaging to figure out how hot the oven should be and how long you need to cook it for. As a point of reference our 5.4kg (11.9 lbs) turkey was in a 350°F oven for about 2 hours and 45 minutes.
🦃 Mediocre Tip: If you’re not using a turkey bag, then the cook time and temperature is going to be slightly different. According to the USDA, for an unstuffed, completely thawed turkey, you’re going to need to cook it for 15 minutes per pound, in a 325°F oven. Regardless of what method you’re using, make sure to check that the temperature of the inside thigh is at least 165°F with a meat thermometer to ensure that any salmonella is killed.
After the turkey is done in the oven take it out and let it rest for at least 20 minutes to let some of the juices reabsorb and to relax the meat a bit. This will make your turkey much more juicy.
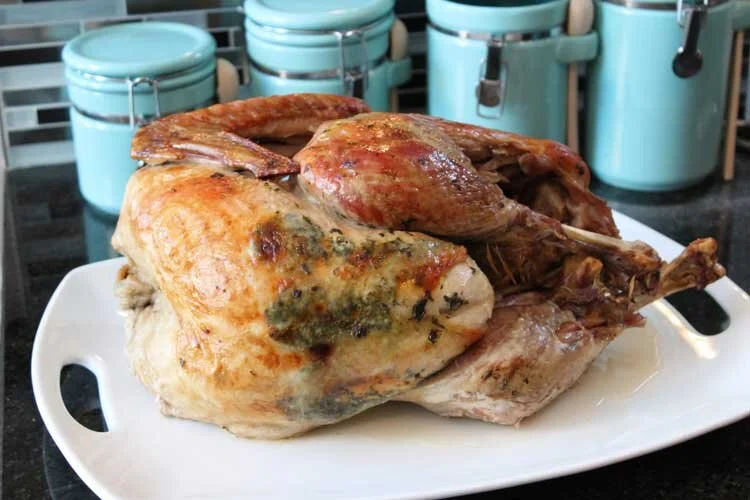
Our bird was missing a wing because we bought a utility turkey. He’s still beautiful.
And that’s it really. If you’ve followed our steps then your turkey should turn out nearly perfect, and everyone will want to know exactly what your secret is.
(The secret is a turkey bag, don’t skip that part.)
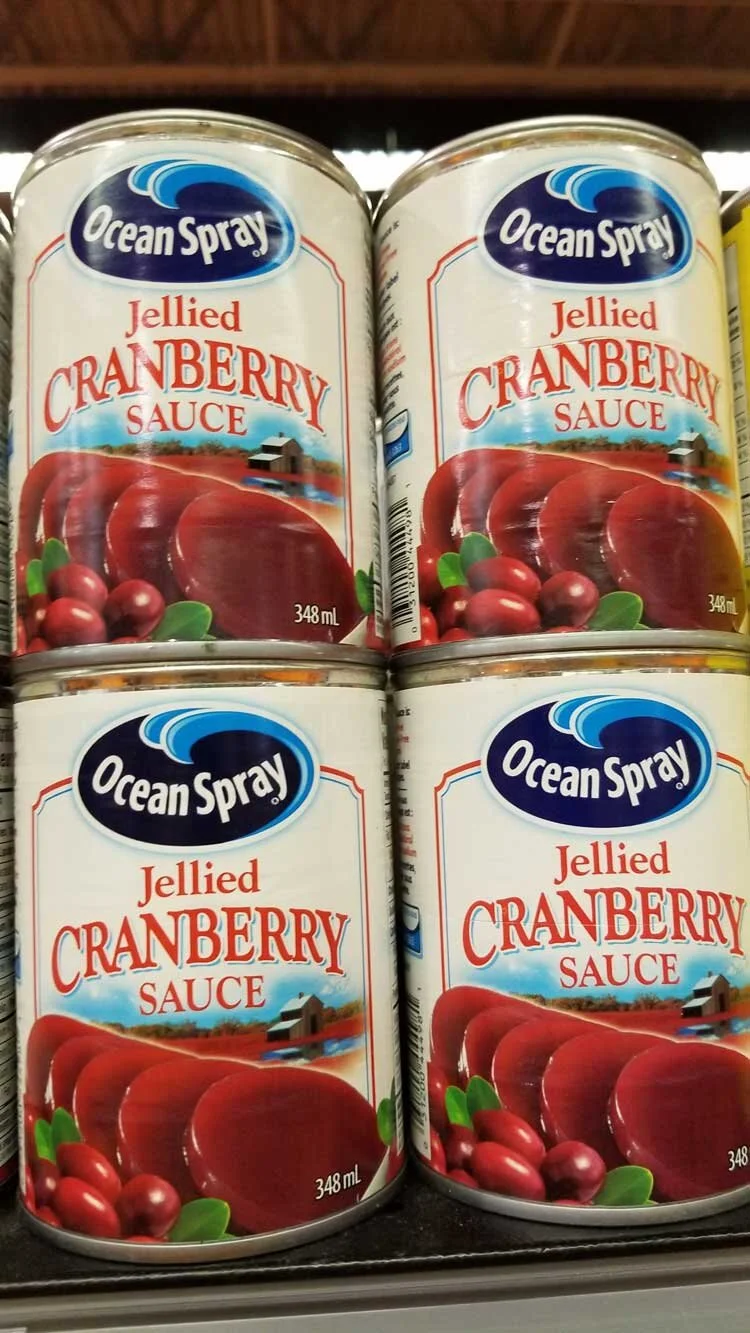
Homemade Cranberry Sauce vs Canned Cranberry
You might think you hate cranberry sauce, but if you have only ever had cranberry sauce from a can, you need to give cranberries another chance. Homemade cranberry sauce is ridiculously easy and takes less than 10 minutes. Don’t be lazy and opt for the canned stuff — instead, pick up a bag of cranberries from the produce department! They should have them around Thanksgiving.
❄️ Mediocre Tip: Cranberries freeze great! Buy a couple extra bags and put them in the freezer so you have some on standby in case you have a cranberry craving.
The recipe on the back of the cranberry package you picked up likely has these ingredients listed to make your sauce:
1 package of cranberries
1 cup of orange juice
1 cup of sugar
We’re here to tell you that 1 cup of sugar is ridiculous and you can easily dial it back to a ½ cup of sugar. The orange juice is already sweet, so you don’t need that much sugar. Plus, adding less sugar lets the tartness of the cranberries shine through. It really is magical!
To make your sauce, simply dissolve the sugar in orange juice over medium heat in a pot. Once you’ve dissolved, add the bag of cranberries. The cranberries will bubble and pop! Stir for a bit and — congrats — you have made cranberry sauce. Yes, it’s that easy. For a chunkier sauce, don’t let all of the cranberries pop.

Nothing beats homemade cranberry sauce.
😋 Mediocre Tip: Have leftovers? Brittany’s family likes to make cranberry squares.
Even though your turkey won’t be dry AF because you followed our advice and used a turkey bag, you should still make cranberry sauce because it is delicious to eat with your turkey.
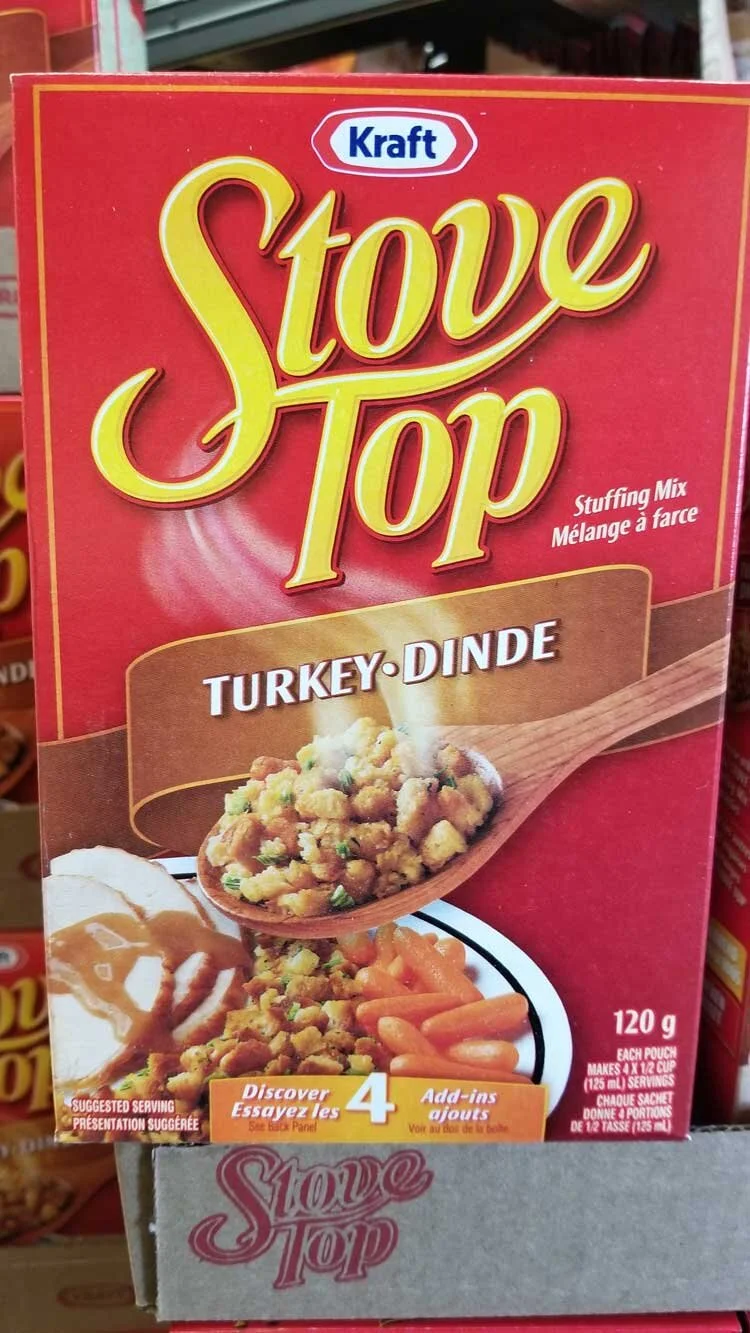
Homemade Stuffing vs Stove Top
Did you know that the second ingredient in Stove Top stuffing mix is high fructose corn syrup? Yikes. The fourth ingredient is salt. Double yikes. Nix the boxed stuff and make your own!
We made a recipe that Brittany’s Mom passed down to her. It’s like most stuffing recipes, but it also includes ground pork — it’s a flavour bomb in your mouth.
Oh, and we didn’t cook our stuffing inside of our turkey. Why? 1) It’s gross 2) You get soggy stuffing 3) It takes your turkey longer to cook, which 4) Usually results in an overcooked turkey. All of those things suck, so just cook your stuffing separately. Please? Thanks. (Alton Brown agrees.)
To make a superior stuffing that beats Stove Top every time, gather your ingredients:
6 cups of dried bread cubes
1 medium onion, diced
3 stalks of celery, chopped
3 large cloves of garlic, diced
375g of pork sausage*
3 tsp of poultry seasoning
2 cups of chicken broth
*Brittany’s Note: I don’t know why, but my family has always used those cylinder packages of pork sausage. Usually the Maple Leaf brand one, but if you can’t find that, then a tube of Harvest brand pork sausage works well too!
You can use leftover bread or buns for your bread cubes, but we bought packaged bread cubes because we don’t consume a lot of bread and so we didn’t have any leftovers to use. To start your stuffing, fry up your veggies until soft, adding your garlic a bit later so it doesn’t burn.
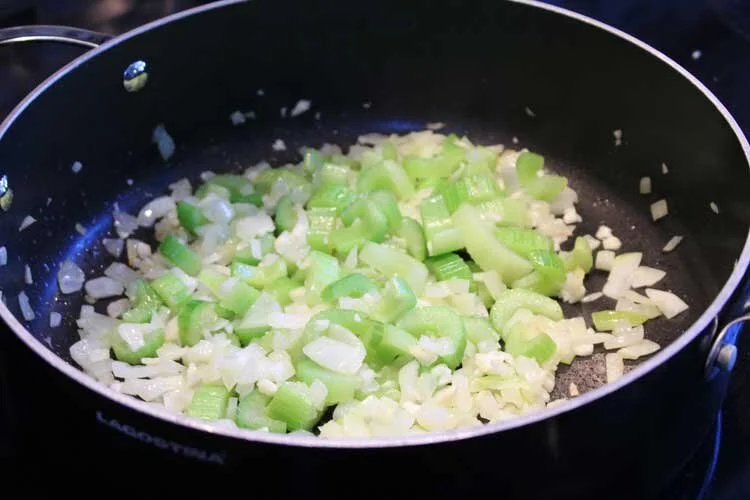
You can’t go wrong with onions, garlic, and celery.
Grease a 9x13 pan and add your bread cubes. Top it with your cooked onions, celery, and garlic. In the same pan, add your pork sausage until it’s cooked. Try not to disturb it too much so it gets that nice golden brown color for that extra flavour! Add your cooked sausage to the 9x13 pan and top with your seasoning. Pour your broth on top and mix it up.
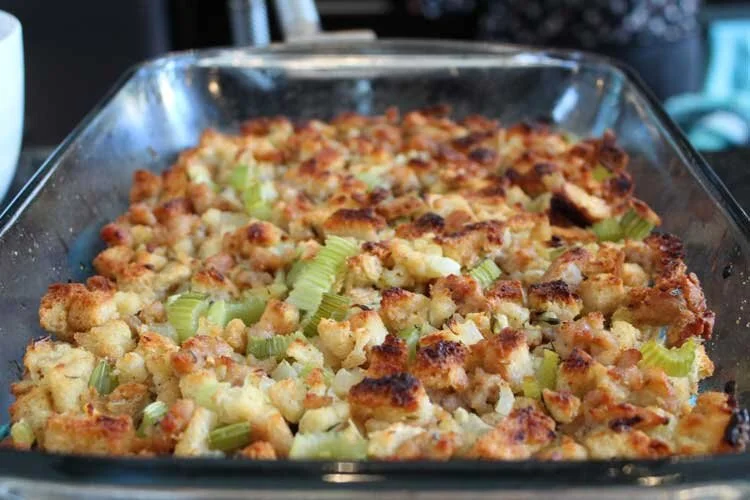
This stuffing is seriously the best.
We recommend putting this stuffing in the oven right after you remove your turkey. It takes an hour to cook, and your turkey needs time to rest anyways. At the end, set your oven to broil to crisp the top up a bit. (Don’t forget that things burn quickly under broil — watch it!) If you don’t want to wait an hour after the turkey comes out, this can be made in advance and reheated.
Eat shit, Stove Top.
Mashed Potatoes vs Boxed Mashed Potatoes
If you don’t have mashed potatoes at your Thanksgiving dinner then you probably hate potatoes and fun. But we get it, the same mashed potatoes year in and year out can get, well, boring. We’re here to show you a better way to make your mashed potatoes. No it’s not as fast as adding hot water to dehydrated potato powder, but the end result is tastier, and just all around better. We followed this recipe by Tasty.
(Sidenote: we also have a blog post called “Mashed Potatoes 101” — give it a read if you want to make the best mashed potatoes ever!)
To start, peel and cut the potatoes into 1 inch chunks. Then put those puppies in a pot of cold water. Add only enough water to cover the potatoes by about an inch of water, otherwise you’ll be waiting forever for them to cook. Turn the heat on and let them come to a boil. Once the water is boiling, reduce the heat, and let them simmer until you can split one in half with a fork.
🥔 Mediocre Tip: We kept them at a hard boil for the entire cooking process. Do this only if you’re running behind on time. We did it because Trevor is lazy, and we accidentally overcooked them slightly.
While the potatoes are boiling, it’s time to make the flavoured cream. This is what is going to give your mashed potatoes the flavour that you want. For us, it was garlic and dill. Pour one cup of heavy/whipping cream into a pot and add in a few sprigs of dill and 3 -5 smashed garlic cloves. Put the heat on medium-high and let the cream come to a gentle boil. Once boiling, reduce the heat and let the cream simmer for 5-10 minutes. How long you poach everything, and how many garlic cloves and dill sprigs to use is up to you. Taste the cream and see if it needs more time!
🥔 Mediocre Tip: Go a little light on the dill during this stage as we’ll be adding fresh dill to the mashed potatoes at the end to give it that extra kick.
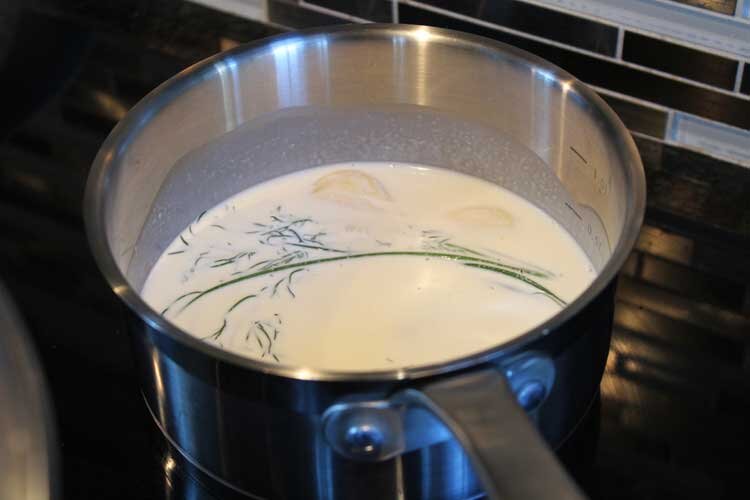
Flavour liquid.
Once you’ve gotten the spuds nice and tender, strain them, and return them to the pot. Put the heat on low and let some of the excess moisture evaporate from the potatoes — this is going to make mashing them much easier.
When the potatoes have finished drying out a bit, it’s time to mash them. There are many different ways and theories on how to mash potatoes: using a masher, using a potato ricer, using a hand mixer, or using a sieve. We opted for a sieve because they result in a super creamy mashed potato with a texture that just can’t be beat.
Transfer the potatoes to a fine mesh sieve, grab a rubber spatula, and get ready for a workout. What you need to do is to push the potatoes through the sieve. This is similar to a potato ricer, except that the “grains” are much, much finer. Push, smush, scrape, do whatever you need to do to get the potatoes through the sieve. You may have to scrape the outside of the sieve occasionally to free up some room.
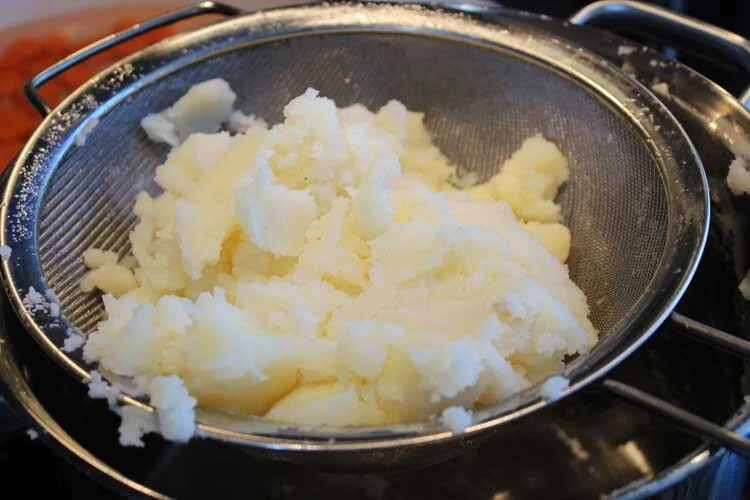
It’s a bit of a workout to get this through the sieve, but it’s worth it!
Yes, this is a bit of a process, but the end result is very worth it. And if you’re thinking, “Oh god, isn’t it going to be very difficult to clean my sieve after?”, the answer is no...as long as you clean it right away before the potato residue hardens.
One of the last steps is to add in ½ cup of melted butter and fold it into the potatoes. Once that’s done, slowly add the cream, making sure it’s fully incorporated before adding more. This is the step where everything can go wrong — too much cream and you’ve got potato soup, too little and the texture isn’t as nice. Just keep adding a little bit at a time until you’re at the consistency that you want. Once that’s over throw in some chopped fresh dill, mix, and taste for seasoning. Add salt and pepper, taste again.
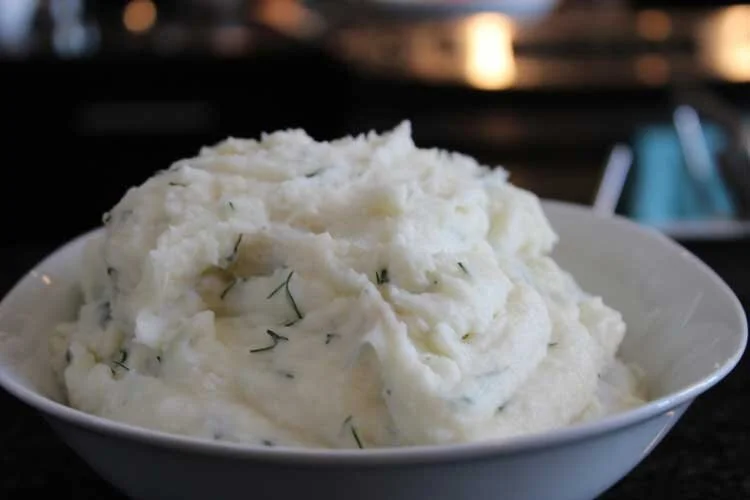
The best mashed potatoes that you’ve ever eaten.
Congrats, you’ve just made mashed potatoes Gordon Ramsay would be proud of (we think).
Homemade Gravy vs Packaged Gravy
So many people make gravy from a package even though they have a cooked turkey sitting right there in front of them. YOU HAVE THE BASE FOR AN AMAZING GRAVY. WHAT ARE YOU DOING? PUT THE GRAVY PACKET DOWN, MARTHA.
There are a lot of different ways you can make turkey gravy. Some recipes are super involved, while others are only 3-4 ingredients. Based on the few recipes we looked at, we decided to just wing it based on what we know about making a roux. Basically it looked like this: add a hunk of butter to pan. Let it melt. Add flour to pan. Stir stir stir. Add chicken stock (the same we had used for the stuffing), add lots of turkey drippings, a couple dashes of Worcestershire sauce, salt, and pepper. You should get something that resembles gravy and is way less sodium than those shitty gravy packages.
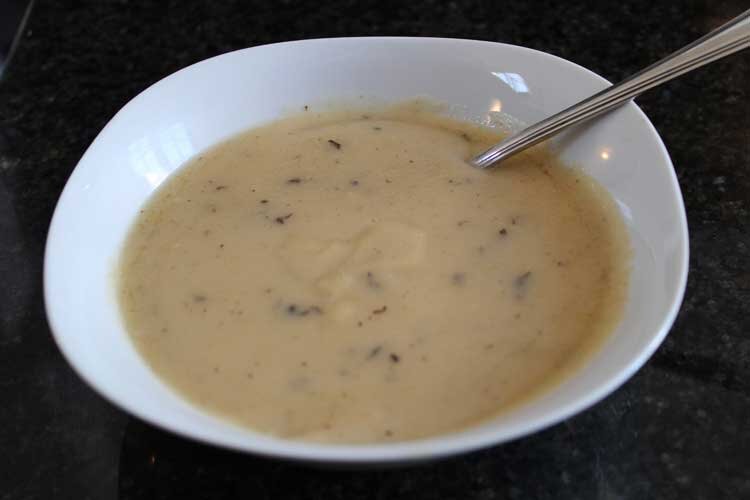
Brittany doesn’t own a gravy boat. Womp womp. (But that doesn’t make this gravy any less delicious!)
If you’re not comfortable winging it, here are a few turkey gravy recipes:
Glazed Carrots vs Boiled Carrots
Everyone has had boring boiled carrots. They’re not bad, but don’t you ever feel like they’re missing something? Enter: glazed carrots — the superior Thanksgiving side dish.
All you need to make your carrot dreams to come true is:
1.5 lbs of carrots
¼ cup butter
¼ cup maple syrup or ¼ cup brown sugar
Salt to taste
To start, boil your carrots until they’re tender, strain them, then put them in a pan with some brown sugar, butter, and salt, and let them cook for about 5 minutes. BOOM, carrots that taste infinitely better.
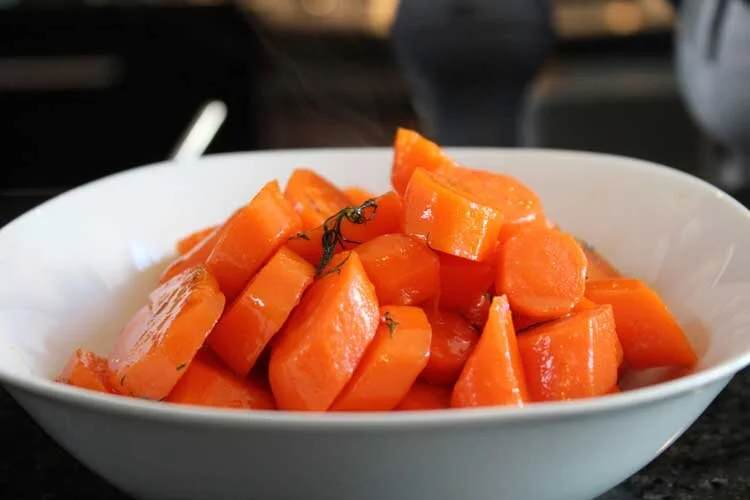
We also opted to throw in some dill to offset all the sweetness.
You can even boil them in the same pan that you finish them in, making them a one pot side dish, which is something that we’re thankful for. (By this point in the afternoon we had used up all of Brittany’s pots and pans.)
Cooking a Thanksgiving meal takes time — but it isn’t hard. We know it’s easy to opt for the convenience of a pre-cooked bird, boxed stuffing, and packaged gravy. But what’s easy usually isn’t delicious. (Or it is delicious but that’s just because it’s full of salt, salt, and more salt.) Do your body a favour and make a homemade feast for your family. We know cooking Thanksgiving dinner is a lot of work, but if you get friends and family involved, the task becomes much less daunting.

Even if you don’t follow all of the recipes in this post, we hope that at least one will inspire you to try something new during Thanksgiving this year (even if you celebrate at the wrong time, you know, in November *cough* Americans *cough*).

Two Thanksgiving plates. (You vs the guy she tells you not to worry about.)
Happy (Canadian) Thanksgiving!
-Brittany & Trevor